How to Use GPT Image 2 for Pixel RPG Key Visuals — A Step-by-Step Guide with a Real Undertale World
Six steps to banner-ready 16-bit pixel RPG key visuals with GPT Image 2 — prompts, model comparisons, and troubleshooting, proven on real works from the Undertale world.
How to Use GPT Image 2 for Pixel RPG Key Visuals
A practical, step-by-step guide to generating banner-ready 16-bit pixel RPG key visuals with GPT Image 2, using a real Neta Studio world — The Underground Beneath Mount Ebott — as the worked example. By the end you will know how to choose a scene, cast a subject, control the light, run the two-model comparison, and publish covers that stay on-canon.
What You Need
- A world seed — fork the Undertale world or write a one-sentence retro JRPG brief.
- A scene — a character, a location, a faction, and a moment worth a cover.
- A model pair — GPT Image 2 for detail, Krea 2 for tile-map clarity.
- Thirty minutes — a handful of covers in one session, published as works.
Step 1 — Choose the Scene
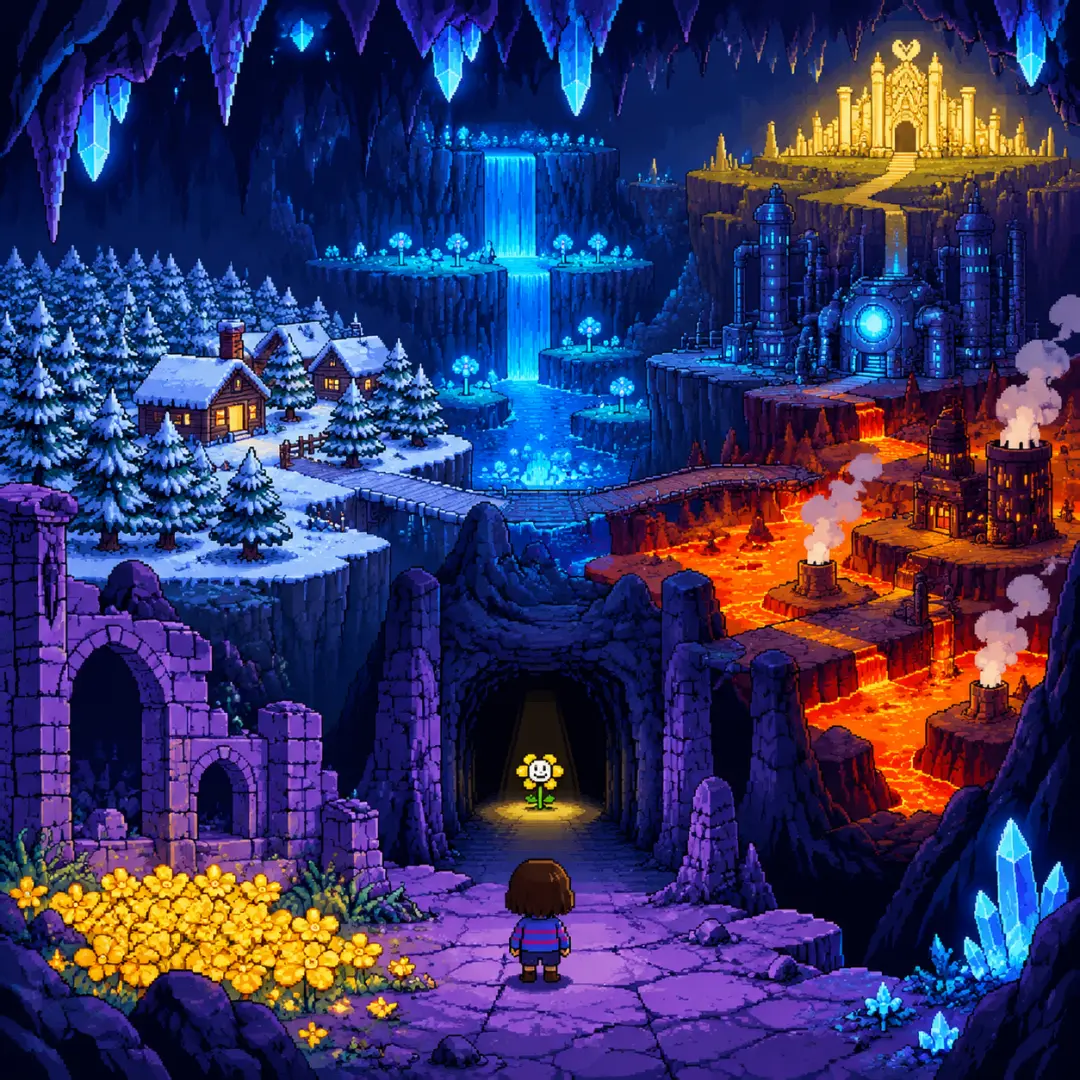
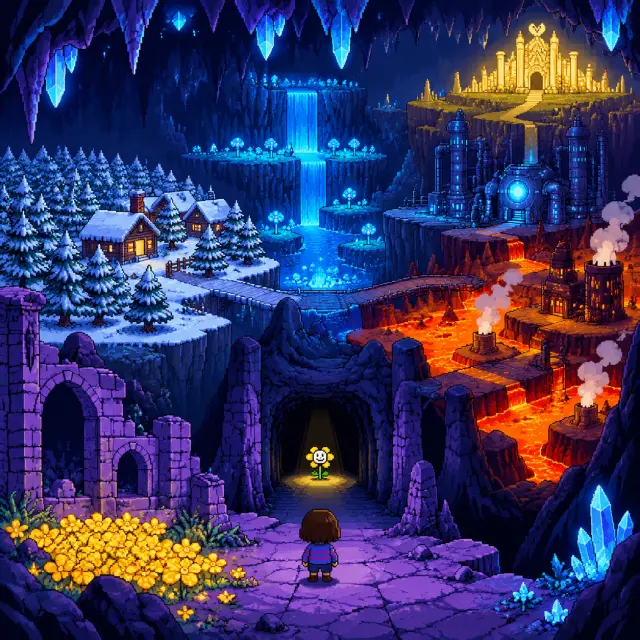
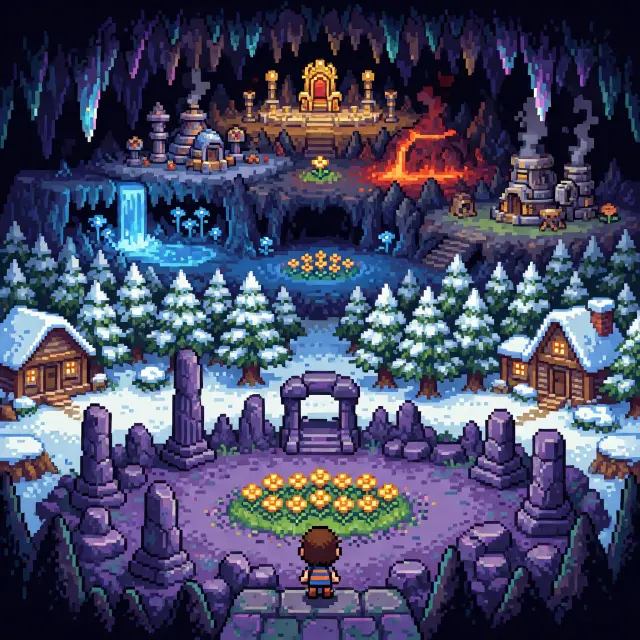
Start with a scene that has visual conflict. The Underground offers several: a purple stone Ruins cavern at first light, a snowbound forest town, a glowing waterfall, a fall through the mountain. Pick the one with the clearest power dynamic — a small striped figure against a great lit space is the fastest cover to read.
Step 2 — Cast the Subject
Name the character and their moment. A small striped child at a corridor mouth gives the Ruins scale and the folklore at once; a grinning golden flower in a bed of buttercups gives the frame its quiet threat. The subject is what a viewer identifies with in the first half-second.
Prompt template: "[a subject] in [a place], [a moment], [an elemental accent], [a light]. Authentic hand-placed 16-bit-style pixel art, limited 24-color palette, three-step pixel shadows, selective dithering, tile-based, no text, no watermark." Fill it once and reuse it — consistency is what makes a set of covers feel like one world.
Step 3 — Set the Mood with Light
Light is the fastest way to make a key visual read as key art. Warm ruin-light sells wonder; blue waterfall glow sells mystery; volcanic Hotland red sells danger. State the light explicitly — "warm ruin-light through a dark corridor", "blue bioluminescent waterfall glow", "lava-lit volcanic stone" — and the model will build the palette around it.
Step 4 — Run Both Models
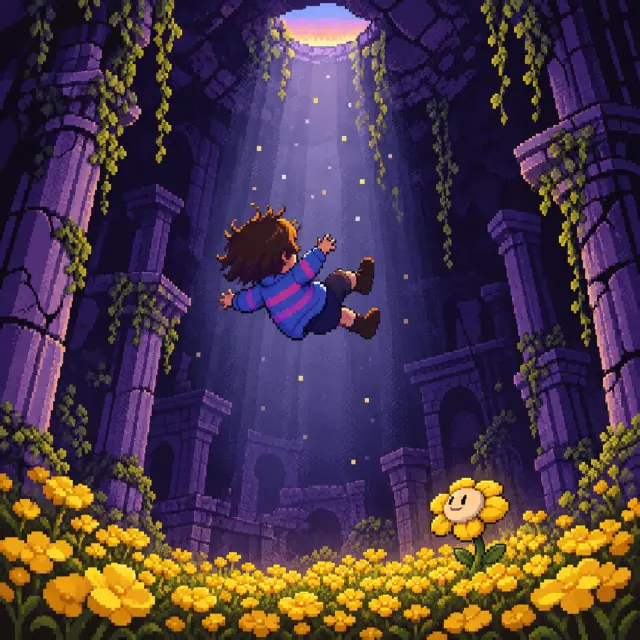
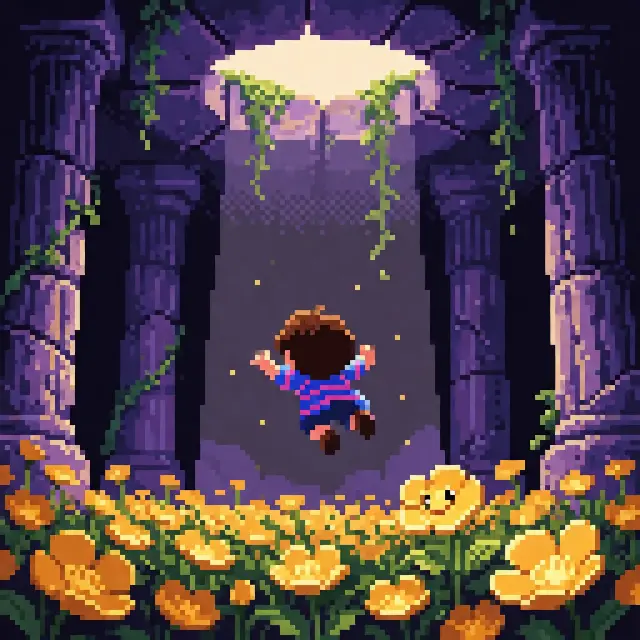
Run the exact same prompt through GPT Image 2 and Krea 2. On Neta Studio both renders publish as works of the world, side by side, so the comparison is the deliverable rather than an afterthought. GPT Image 2 answers with detail and structure; Krea 2 answers with clean, map-like clarity.
Step 5 — Compare and Choose
Compare the pair against your art direction. Detail-first suits covers, title screens, and storefront banners; tile-first clarity suits world maps, teasers, and backgrounds. When the two are close, pick the one that survives a thumbnail crop — that is the frame a viewer actually sees first.
Step 6 — Publish and Iterate
Every render publishes as a shareable work of the world. Iterate by re-prompting the same scene with one variable changed — the light, the subject, or the moment — or by forking the world and rewriting its canon. The loop is the method: prompt, render both, compare, publish, repeat.
Write
Prompt the scene, subject, and light in one sentence.
Render
Run GPT Image 2 and Krea 2 on the same brief.
Compare
Publish both as works; compare against your direction.
Iterate
Re-prompt, fork, or build the next work from the same world.
Prompt Recipes That Work
- The Ruins at first light — "a vast purple stone Ruins cavern of ancient arches and golden flowers, a small striped child standing at the mouth of a dark corridor, warm light in the shadows, authentic 16-bit pixel art, limited 24-color palette, no text".
- The fall — "a child falling through a shaft of pale dawn light into a bed of golden buttercups, the small round hole high above, cracked columns and hanging vines, a single smiling golden flower looking up, 16-bit pixel art with three-step pixel shadows".
- The snowy forest town — "a snowbound pine forest town at night, wooden cabins with glowing windows, deep snow and a lantern path between them, warm amber against deep indigo, tile-based 16-bit pixel art, no text".
- The glowing waterfall — "a glowing blue waterfall cavern of still water, echo flowers and drifting spores, bioluminescent light on wet stone, deep blue and violet palette, crisp nearest-neighbor pixels, limited palette".
Troubleshooting
- Too smooth — add stronger style cues: "authentic hand-placed 16-bit-style pixel art, crisp nearest-neighbor square pixels, limited palette, not photography, no anti-aliasing".
- Accidental text — add "no text, no watermark, no typography" and keep titles out of the prompt.
- Wrong palette — restate the world’s colors: "deep indigo dusk, warm ruin-light, golden flowers, blue waterfall glow".
- Too busy — cut one element; a cover with two figures reads better than one with six.
- Model drift — re-anchor on the world seed: fork the world instead of re-typing style notes.
What's Next After the Poster
The key visuals in this guide are public works of the Undertale world — covers you can study, fork, and build on. Once the six steps are second nature, use the same workflow on the world’s other scenes, or fork the world and rewrite its canon to make the covers your own.
Step 7 — Render the World's Turning Point
Once the steps are second nature, stress-test them on an event: the fall of the child, the moment a striped child drops through the mountain and everything begins. Event covers are harder — motion, a light shaft, vines, a flowerbed and a whole room of smaller details — which makes them the best proof that your prompt and your world seed are doing the work.
Frequently Asked Questions
- Can I follow this guide without the Undertale world? Yes — the steps are model-general. The world simply supplies a ready-made seed to practice on.
- Should I always run both models? For key visuals, yes — the comparison is fast and it makes the direction decision obvious.
- How do I keep a set consistent? Keep the world seed and the style cues fixed; vary only the scene, subject, and light.
- Where do the covers live? Every render publishes as a shareable work of the world on Neta Studio.
Start Your Key Visual
Follow the six steps with GPT Image 2 — fork the Undertale world, run the pair, and publish your first cover. Your next 16-bit pixel RPG key visual is one prompt away.
Start Your Key Visual
Follow the six steps with GPT Image 2 — your 16-bit pixel RPG key visual is one prompt away.