How to Use GPT Image 2 for Tactical Shooter Key Visuals — A Six-Step Guide
The exact GPT Image 2 workflow behind the VALORANT Protocol key visuals — brief, sentence, render, compare, publish.
How to Use GPT Image 2 for Tactical Shooter Key Visuals
This guide walks through the exact GPT Image 2 workflow used to produce the VALORANT Protocol world key visuals — from loading the visual-style brief to publishing the finished frame as a shareable work. Everything below was tested on the world itself: two key visuals, two model passes, four published works.
The method is deliberately small: a locked brief, a one-sentence scene, a single render pass, and a publish step. GPT Image 2 does the heavy lifting — photorealism, fine detail, sophisticated layout — and the world's visual-style brief keeps every output inside the same game. When the same sentence runs through Krea 2 as well, the comparison becomes a second work and a second opinion.
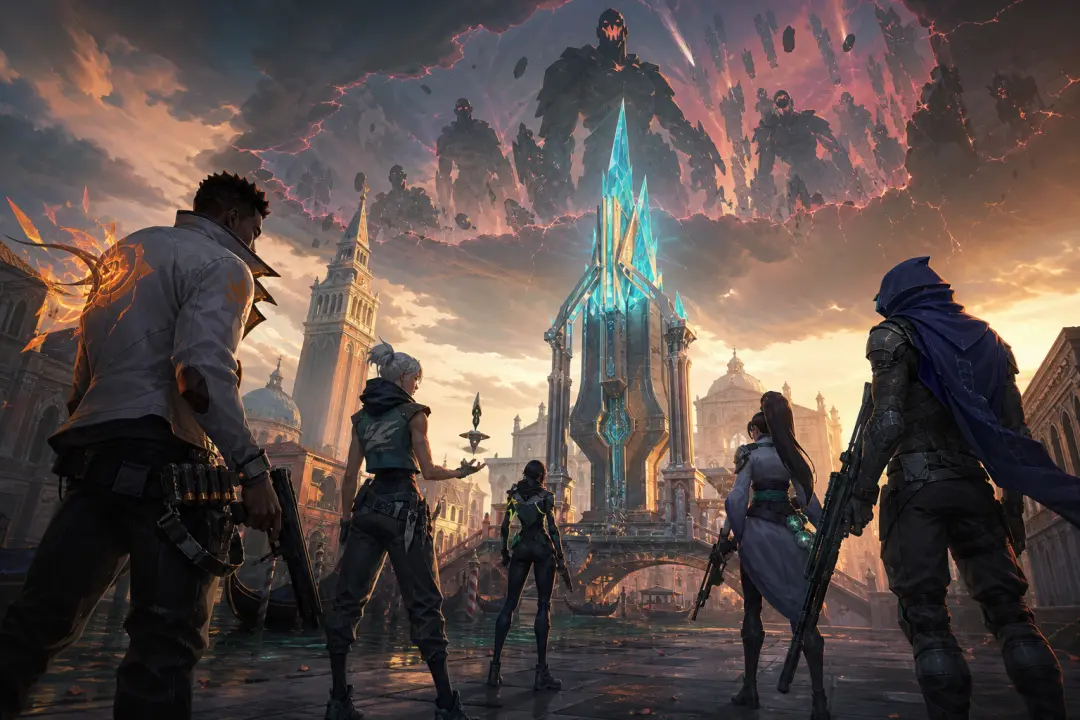
Step 1 — Load the Visual-Style Brief
The brief is the contract between you and the model. For VALORANT Protocol it is the world's commercial game painterly style: high-finish rendering, large readable three-dimensional masses, deep chromatic shadows, narrow saturated cyan-and-orange accents, controlled key, rim and bounce lighting, integrated visible brushwork. Paste it verbatim at the top of every prompt.
The brief does three jobs: it pins the palette, it pins the rendering, and it pins what to avoid — rough sketch quality, flat cel shading, text, logos, watermarks and interface elements. A key visual that obeys the brief belongs to the world even before anyone says so.
Step 2 — Write One Sentence
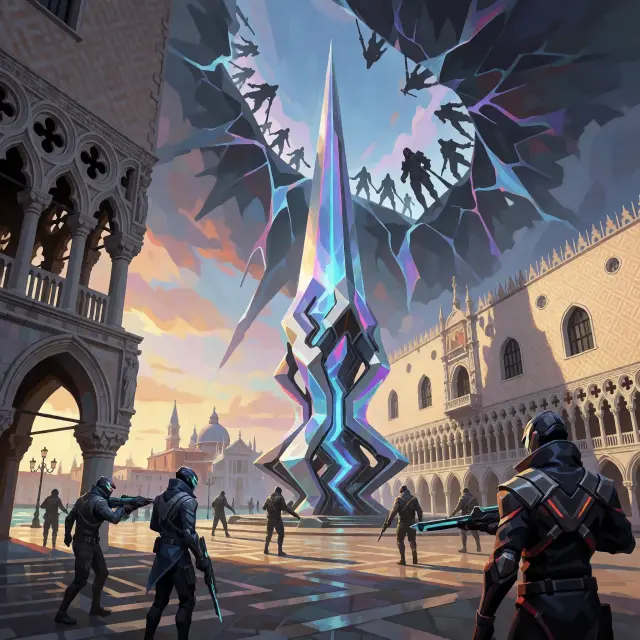
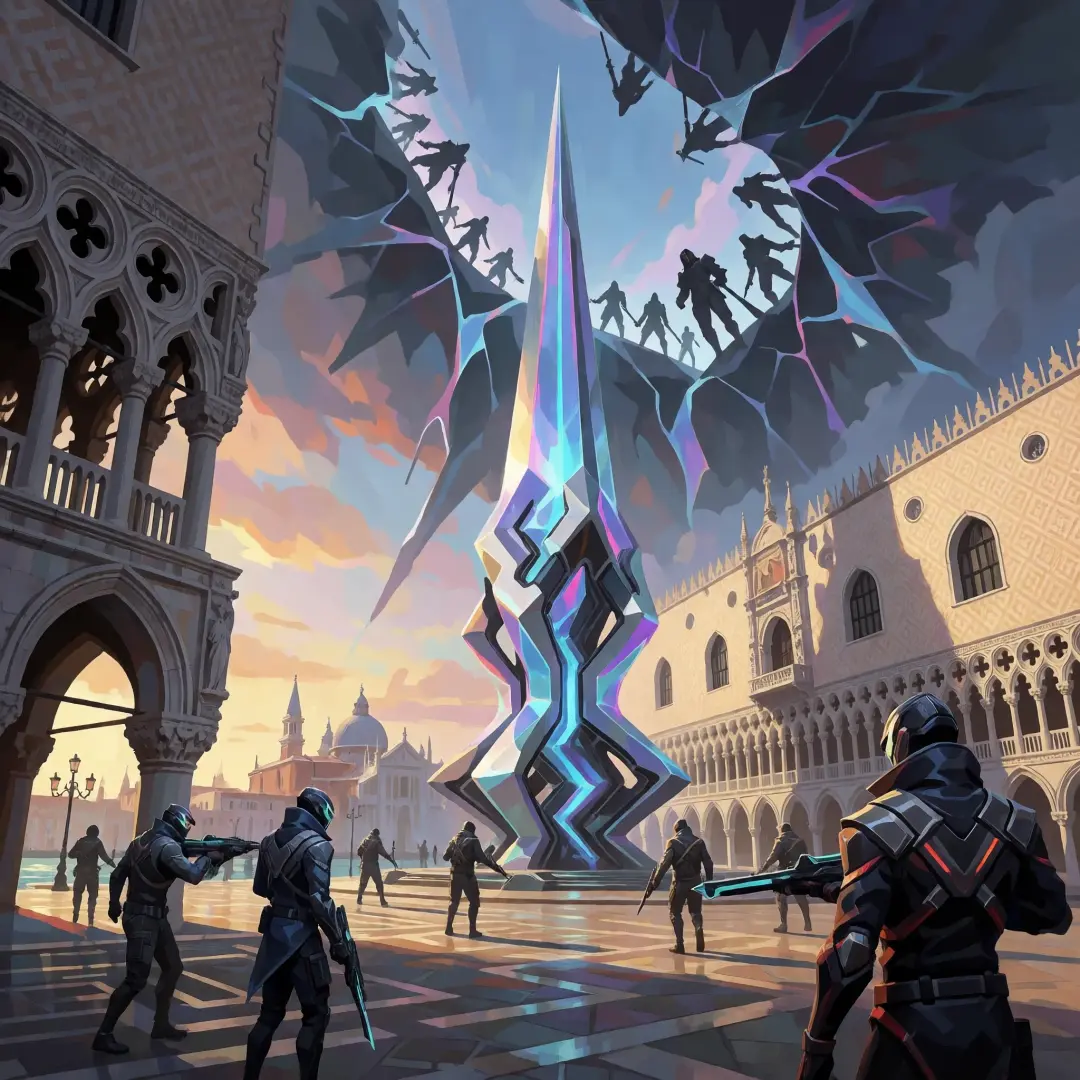
The scene sentence is the only creative input left. For the world key visual it was: a covert strike team on a sunlit Venetian plaza at dawn, a towering crystalline Radianite Venturi machine humming at the heart of the city, a dimensional rift tearing the sky open above the rooftops, the Omega Legion marching through. One sentence, four beats — setting, focal object, threat, mirror.
Setting first
Name the place and the time — a Venetian plaza at dawn, a New Mexico desert at dusk.
One focal object
The Venturi machine, the crystal seam — one thing the eye lands on before anything else.
The threat
The rift, the Legion, the mirror army — the stakes in visual form.
The cast
Who is in the frame and what they are doing — a strike team holding the line.
Step 3 — State Subject and Scale
Tell the model what kind of frame this is. A world key visual is wide and establishing: the city, the machine, the rift, the team. An agent key visual is tight and heroic: one Radiant, one ability, one emotional beat. The same brief serves both, but the sentence must say which one you want.
Step 4 — Render with GPT Image 2
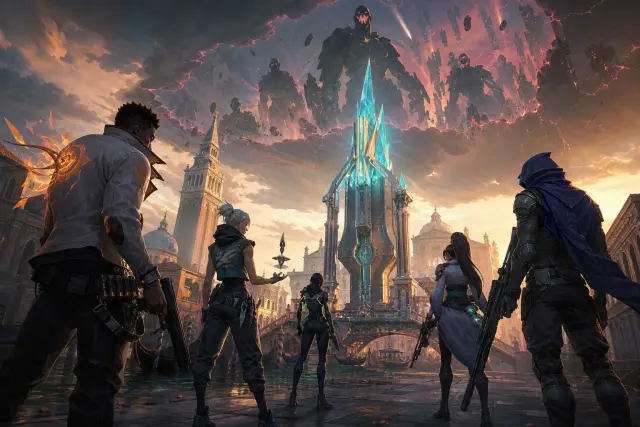
Run the brief-plus-sentence prompt through GPT Image 2. The model resolves the scene with photorealism and fine detail: the strike team reads as people, the machine as crystal, the rift as a physical tear in the sky. Render at 1024px or higher; the output below is the flagship world key visual straight from this step.
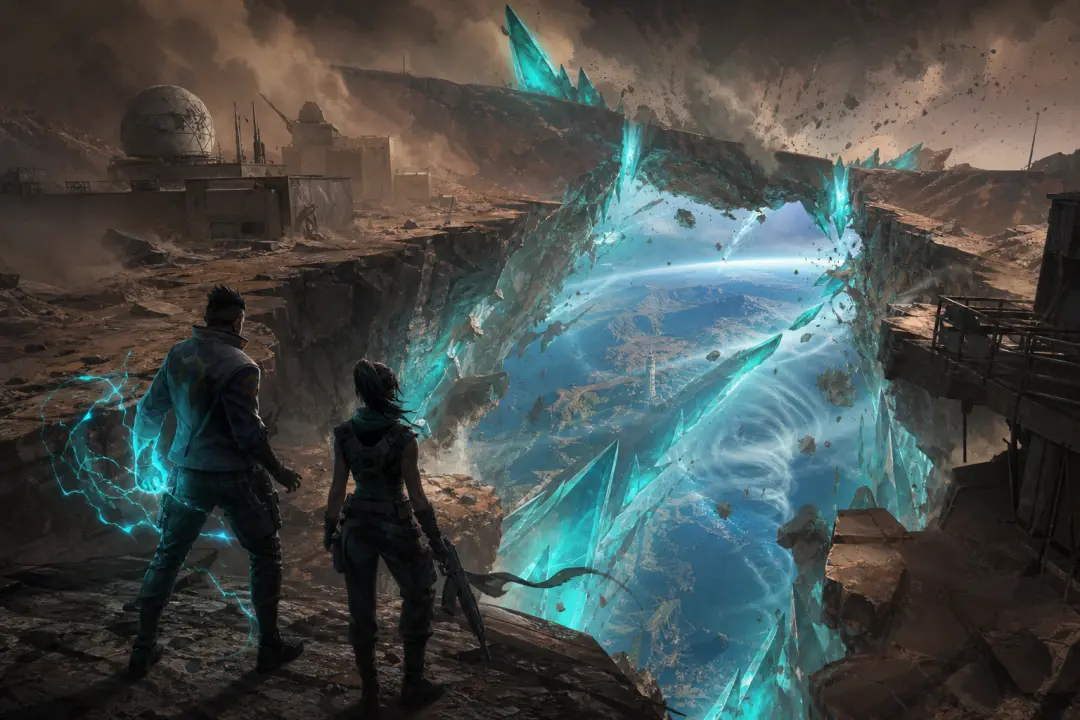
Step 5 — Run the Comparison Pass
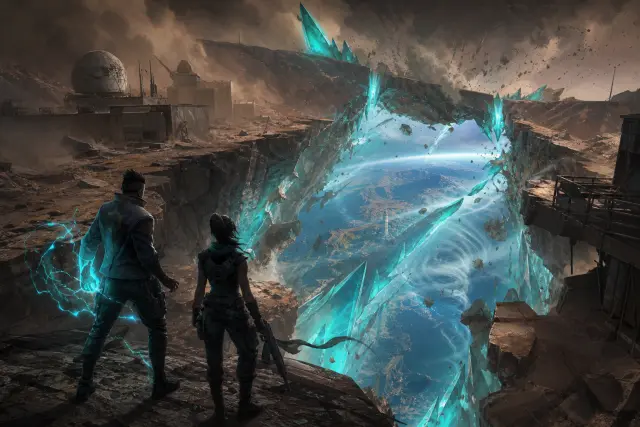
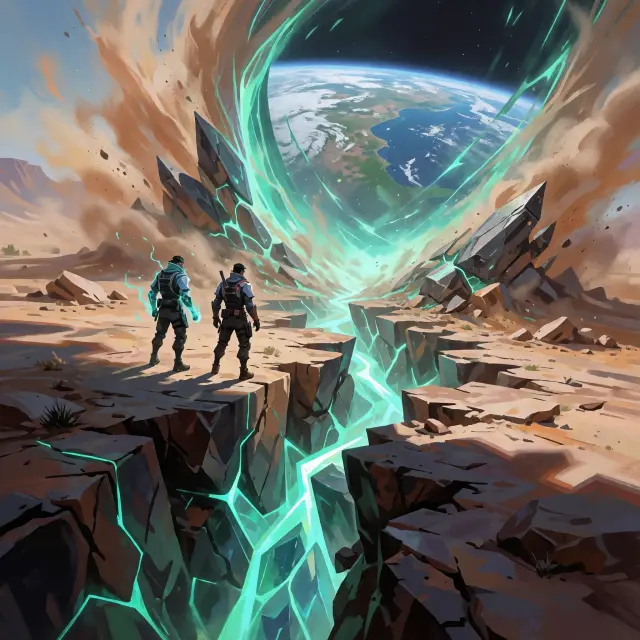
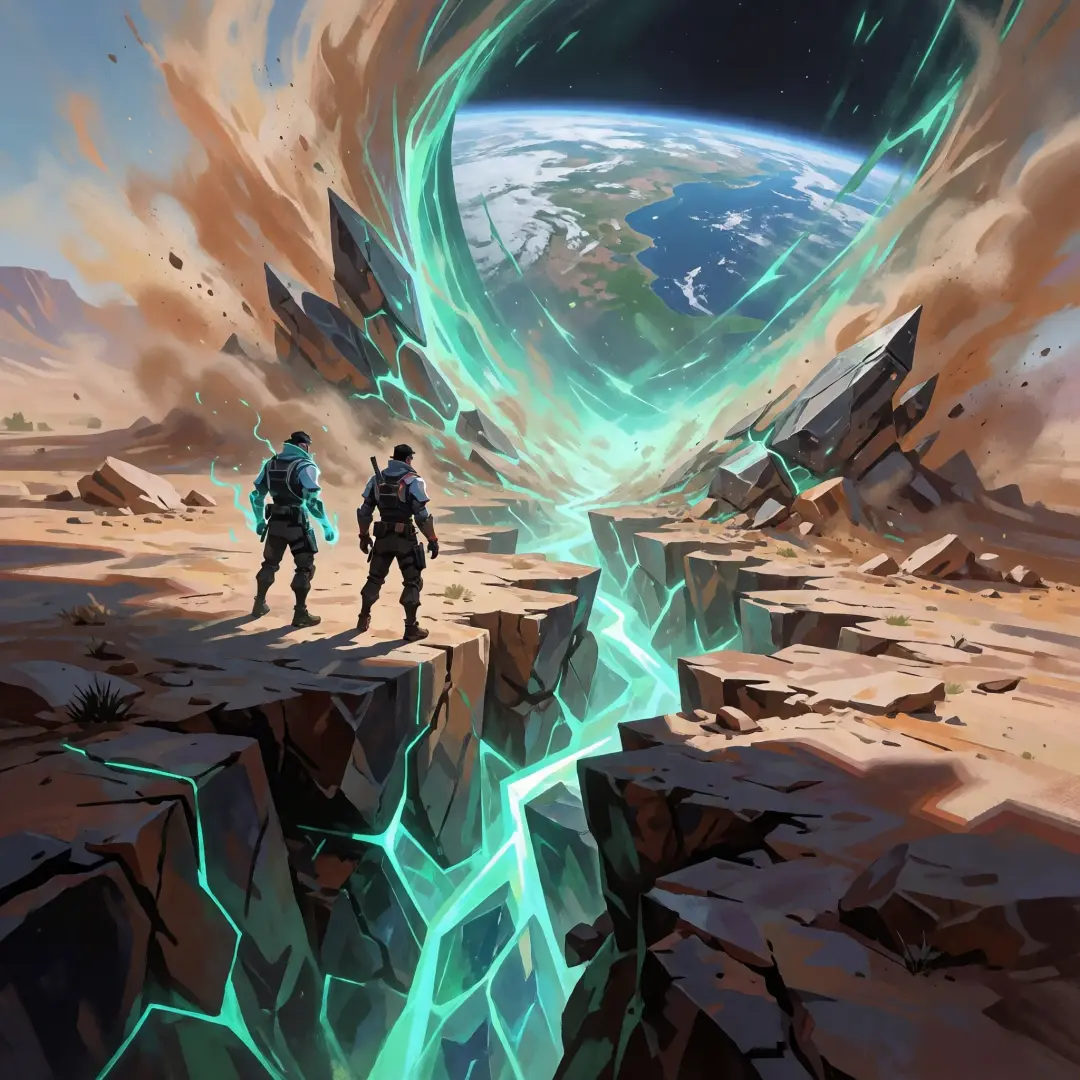
Run the exact same prompt through Krea 2. The comparison is the fastest design review in the pipeline: two honest interpretations of the same brief, side by side. GPT Image 2 delivers the character-first, story-locked frame; Krea 2 delivers the atmosphere-first, luminous frame. Neither is wrong — they are two cuts of the same cinematic moment.
Step 6 — Publish as Works
Every output becomes a shareable work inside the world: the world key visual and the Fracture Incident key visual, each in its GPT Image 2 and Krea 2 versions — four works, one brief family. Publishing is what turns a render into canon: other creators can fork the world, reuse the brief, and build games, videos and assets on top of your frames.
Visual-style brief → One-sentence scene → GPT Image 2 render → Krea 2 comparison → Publish both as works
Prompt Anatomy
Working prompt (condensed): high-finish commercial game painterly key visual; a covert strike team on a sunlit Venetian plaza at dawn; a towering crystalline Radianite Venturi machine humming at the heart of the city; a dimensional rift tearing the sky open; silhouetted Omega Legion marching through the tear; deep chromatic shadows, narrow saturated cyan-and-orange accents, controlled key and rim lighting, integrated visible brushwork with distinct metal, leather, cloth and crystal response; no text, no logos, no watermarks.
Common Mistakes
Iterating from the First Frame
The first render is a draft, not a deliverable. Re-prompt the sentence, crop the frame, or fork the world and change the scene entirely — the brief keeps every iteration inside the same game. When the frame finally reads at thumbnail size, that is the key visual. Publish it, and the world recomputes around it.
Draft
Brief plus sentence through GPT Image 2 — accept that the first pass is a draft.
Compare
Same prompt through Krea 2 — collect the second opinion.
Re-prompt
Adjust the sentence, not the brief — the style contract stays locked.
Publish
Ship the frame as a work in the world; fork it into games, videos and assets.
What You Get
Follow this workflow and you get a key visual pipeline, not a single image: a locked brief that survives every scene change, a one-sentence method that any teammate can use, a comparison pass that doubles as design review, and published works that make the world itself the asset library. That is the difference between prompting and producing.
A locked brief
Reusable in every prompt — the world's style survives across scenes and models.
A one-sentence method
Anyone on the team can write the scene; the model handles the rest.
A comparison pass
GPT Image 2 vs Krea 2 on the same brief — a design review in minutes.
Published works
Every frame is shareable canon, forkable into games, videos and assets.
Try the Workflow
Fork the VALORANT Protocol world and run this exact workflow on your own scene — the brief is already there.
Start Generating
Run the brief, write the sentence, render, compare and publish — then fork the world and make it yours.