AI NPC Generator — Describe a Character, Get a 3D NPC in Your World
Make your own ai npc generator
Describe a character in one sentence. It becomes a reusable low-poly 3D NPC you can drop into a walkable world — in your browser, no download, no engine, no code.
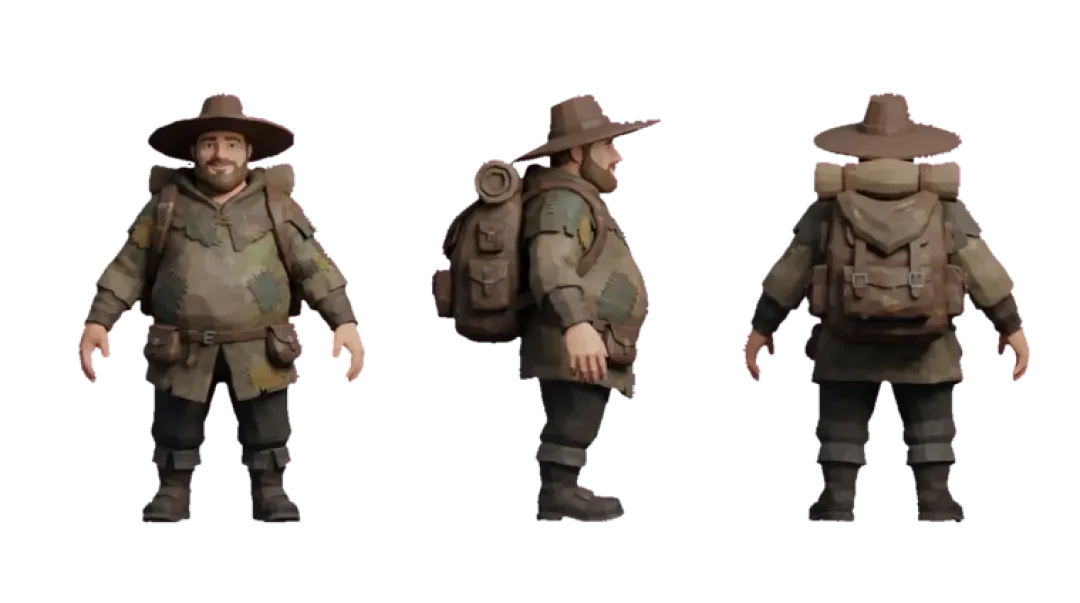
The AI NPC generator in Neta Studio turns one sentence into a low-poly character component you can place in a walkable 3D world. Type a description like "a stocky dock worker in a blue rain jacket with a limp," and the pipeline returns a Three.js-ready component: a mesh, a proportion profile, a color palette, a placement slot in the scene graph, and one behaviour note. No engine install, no rigging step, no code.
It runs in the browser and targets real-time budgets — low poly counts, flat or single-texture materials, no skeletal animation by default. What it does not do is decide how your character acts. Behaviour is a scene setting you pick from a small fixed list, not something the generator invents. The rest of this page is specific about which parts are generated, which are configured, and where the seam between them sits.
The AI NPC Generator (Live)
The first screen is a single text input. There is no character sheet wizard, no slider panel, no asset browser to dig through first. You get a one-line prompt field and a generate button. The output appears in a preview viewport as an actual Three.js scene, not a rendered image.
The generator decides geometry and material. Concretely: a low-poly mesh assembled from primitives and merged parts, a proportion profile (head-to-body ratio, limb thickness, stance width), a small palette of base colors that map to material slots, and a pivot point at the feet so the character sits on the ground plane when placed. It also emits a structured component record — the fields that make the result reusable later.
The generator does not decide behaviour, animation cycles, pathing, dialogue, or game logic. It does not author a rig or a skeleton you can retarget in Blender. It does not produce a normal map or high-poly detail. If your prompt implies action — "a guard who patrols the wall" — the pipeline reads the appearance portion and stops. Patrol is a behaviour mode you assign after placement.
This separation is intentional. Appearance is a generation problem; behaviour is a composition problem. Mixing them produces results that look right and behave unpredictably, which is worse than a character that looks plain and does exactly what the scene says.
What the generator decides vs. what you decide
Generator decides: silhouette, color assignment, material type (flat, lambert, or basic depending on lighting intent), scale class, and the ground-contact pivot. You decide: where it stands in the scene graph, which behaviour mode it inherits, whether it repeats, and whether it becomes an archetype for a group.
If you re-roll, you get a different interpretation of the same sentence. Prompts cluster — "sailor," "fisherman," and "dock worker" tend to land in overlapping proportion space but diverging palettes and headwear. That overlap is useful when you want a crowd that reads as one crew.
What You Can Generate
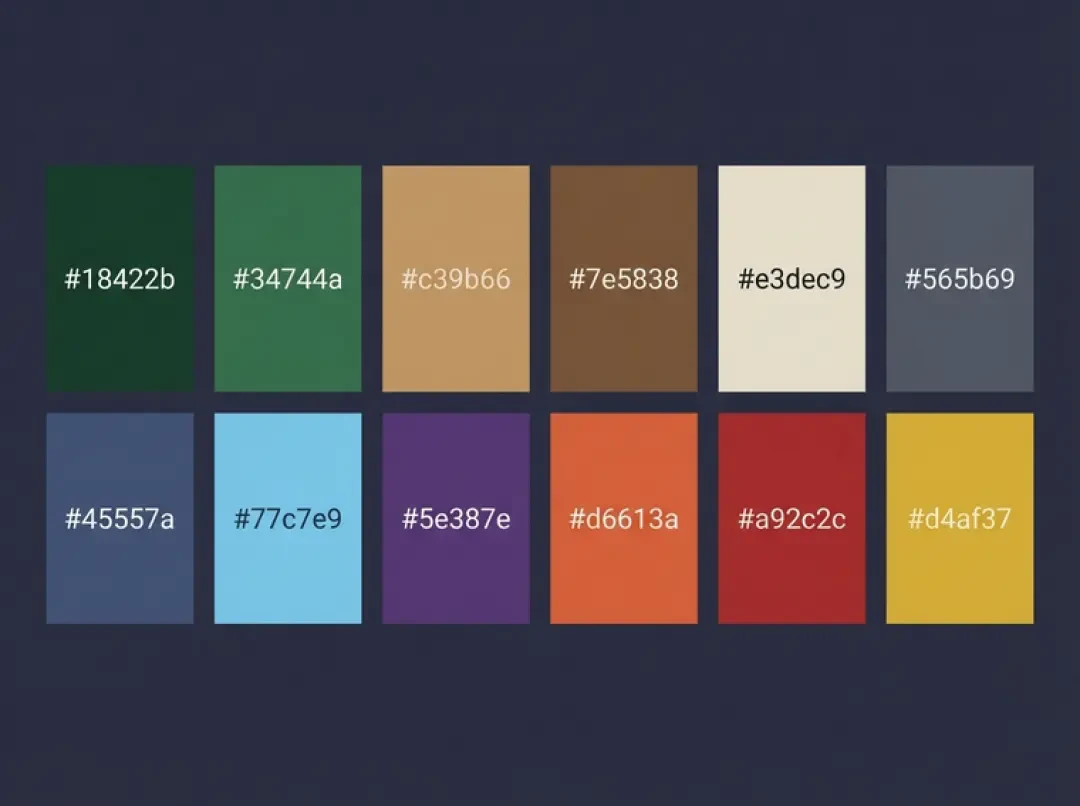
Every generation returns the same component shape, regardless of what you describe. The mesh is the visible geometry. Proportions set the body plan — a child is roughly a 1:4 head ratio, an adult closer to 1:6, a heavy build widens the torso and thickens the limbs. The palette is three to five base colors assigned to material slots: skin, primary garment, secondary garment, footwear, and an accent visible only up close.
The position slot is a scene-graph anchor. It holds a transform — position, rotation, scale — and a parent reference. This is what lets the same component appear twice without duplicating geometry data. You place the anchor; the mesh follows.
The behaviour note is one line and maps to one of a few built-in scene modes: patrol (moves along a defined path node sequence), stay (idle in place, optionally with a looping idle clip), or follow (tracks a target transform at a fixed offset). That is the whole list. There is no autonomous decision-making, no state machine you author by hand, no navmesh pathfinding that reasons about obstacles. The NPC goes where the mode and the path say it goes. Calling it "AI" refers to the generation step, not to runtime cognition.
- MeshLow-poly geometry built from merged primitives. Real-time budget, no subdivision, no displacement.
- ProportionsHead-to-body ratio, limb thickness, stance width, and overall scale class. Sets the read before any color lands.
- PaletteThree to five base colors mapped to named material slots. Flat or single-texture materials.
- Position slotA transform anchor with a parent reference. Instances reuse the same component data.
- Behaviour noteOne line mapping to patrol, stay, or follow. A scene setting, not generated cognition.
How It Works
The pipeline is three stages and it is worth knowing where each one ends, because that is where you take over. Stage one is parsing the sentence into attributes: build, clothing, palette hints, and any prop the character carries. Stage two assembles those attributes into a low-poly component — geometry merged, materials assigned, pivot set at the feet. Stage three files the component into the world's asset library, where it becomes a named entry you can drop again without re-prompting.
The important property is that stage three persists. A generated NPC is not a screenshot of a session. It is a record with fields, and those fields survive page reloads within the same world and can be placed many times across the scene. Reuse is the point.
01
Write one sentence describing the character — build, clothing, and one distinguishing detail.
02
The pipeline generates a low-poly Three.js component: mesh, proportions, palette, and a feet-level pivot.
03
The component lands in the world's asset library as a named entry you can place and re-place without regenerating.
04
Drag the component into the scene, which creates a position slot, and assign a behaviour mode: patrol, stay, or follow.
Live Demo: Drop an NPC Into a World
Mini World is the one live work where a written description already becomes a placeable component end to end. Open it, and you are in a small walkable environment with an asset panel and a prompt field. The environment is deliberately plain — a ground plane with a few landmarks — so that what you add is the thing you notice.
The guide below is the exact sequence. It takes a couple of minutes and produces an inhabited scene rather than a single floating character.
01
Open Mini World and wait for the ground plane and camera controls to initialize.
02
Click the prompt field and type a description. Keep it to one sentence with a build, a garment, and one detail.
03
Generate. The component appears in the asset panel as a named entry, and you can inspect it in the preview viewport.
04
Click the component, then click a point on the ground plane to place it. A position slot is created at that transform.
05
Repeat with two or three more prompts that share palette cues so the group reads as one location.
06
Select a placed instance and set its behaviour mode. Assign patrol to one and leave the others on stay.
07
Walk the scene with the camera. This is the check that placement and scale read correctly at eye level.
What an NPC Component Contains
A generated NPC is a structured record, not an image file. The record has a geometry reference, a proportion profile, a palette map, a pivot definition, a bounding volume, and a behaviour field. Each of those can be read and, in the places where it matters, edited independently. Change the palette map and the geometry is untouched. Change the proportion profile and you get a variant without a new generation pass.
This is the practical difference between a structured component and a flat image. An image is one frozen view at one lighting condition and one angle. You cannot place it at a different scale without it looking wrong, you cannot recolor it, and you cannot walk around it. A component renders from any camera position in the actual scene, inherits the scene lighting, sits on the ground plane at its pivot, and can be instanced across the world cheaply.
The reusability follows from the fields. Two components that share a palette map and a proportion profile read as related characters — a family, a squad, a shift of workers — even if their meshes differ. That is a composition tool. You build a cast by varying one field at a time, not by writing a new sentence for every character.
| Field | What it holds | Why it matters |
|---|---|---|
| Geometry reference | Merged low-poly mesh, material slots | Any camera angle, real-time budget |
| Proportion profile | Head ratio, limb thickness, stance, scale class | Silhouette reads before color loads |
| Palette map | Base colors per named material slot | Swap colors without regenerating geometry |
| Pivot | Feet-level ground contact point | Character stands on the plane, does not float |
| Position slot | Transform plus parent reference | Instance the same data many times |
| Behaviour field | patrol / stay / follow | Wires the character into scene logic |
Free, No Download, No Code
The AI NPC generator is free to try and runs entirely in the browser. There is nothing to install — no engine, no editor binary, no runtime dependency you manage. No code is required at any stage: you write a sentence, you place the result, you pick a behaviour from a list. If you can drag a component onto a ground plane, you have the full workflow.
The same prompt pipeline that produces characters also produces environment assets: trees, houses, walls, and props. A character prompt and a house prompt go through the same parse-and-assemble stages; they differ in the geometry templates and the fields that matter. That means a scene built in Mini World or the 3D game builder can be populated from one input method across both characters and set dressing.
If you want to start from a finished world rather than an empty plane, Agent Sprite Forge and The Cyclops' Island are two routes in. Agent Sprite Forge focuses on the sprite and component side. The Cyclops' Island is a complete playable scene where generated characters drop into an existing layout instead of a blank ground plane. Both are worth opening before you build your own, because seeing a populated scene tells you more about scale and spacing than any list of settings.
- Free to tryNo payment step to generate and place a character.
- Nothing to installBrowser-only. No engine, no editor binary, no local toolchain.
- No codePrompt, place, assign behaviour. No scripting required.
- Same pipeline, more assetsCharacters, trees, houses, and props all come from the same prompt path.
NPCs Are Not Only Props
A prop and a character carry different weight in a scene, and the difference is not just visual. A prop — a crate, a lamp post, a barrel — is read as scenery. Your eye passes over it. A figure standing in the same scene is read as presence. Even a character with no animation and no interaction changes how an empty street reads, because a street with people in it implies the street is used.
The mechanism is placement plus behaviour, and that turns out to be enough. One character on stay at a fixed point reads as waiting. The same character on patrol along three waypoints reads as working. Two characters placed at a distance that suggests conversation, both on stay, read as a pair mid-conversation even though neither does anything. None of that requires dialogue trees or state machines.
Placement density matters more than per-character detail. Three well-spaced figures do more for a scene than one highly detailed figure, because density is what signals habitation. The pivot and the position slot are what make this cheap: you place instances, not new geometry, so a populated scene stays inside your real-time budget. Scale consistency across the group is the thing to watch — a character at the wrong scale class breaks the read instantly, and it is the most common mistake when placing by eye.
Walk into the world it belongs to
A sprite is a character with nowhere to stand. The last step is the one nobody else offers: take the sheet you just built and put it in a world someone can walk around in — a small island, a planet, a rainy street corner. Every world on this site was made from one written description and published as a page you can play.
Back to the 3D Game Builder
All 31 finished 3D worlds, games and scenes live on one page — every one of them playable.