How to Make an RPG Game in 2026 (From One Room to a Playable World)
Make your own how to make an rpg game
A practical, beginner-friendly guide to making an RPG: what to build first, the core systems, and how to get a playable browser game without writing code.
You can learn how to make an RPG game by building one room, one character, one quest, and one battle before you touch a world map. That order is not a preference; it is the only sequence that lets you test each system in isolation. A room proves movement, collision, and camera. A character proves interaction and dialogue. A quest proves state and completion. A battle proves turn order, damage numbers, and win conditions.
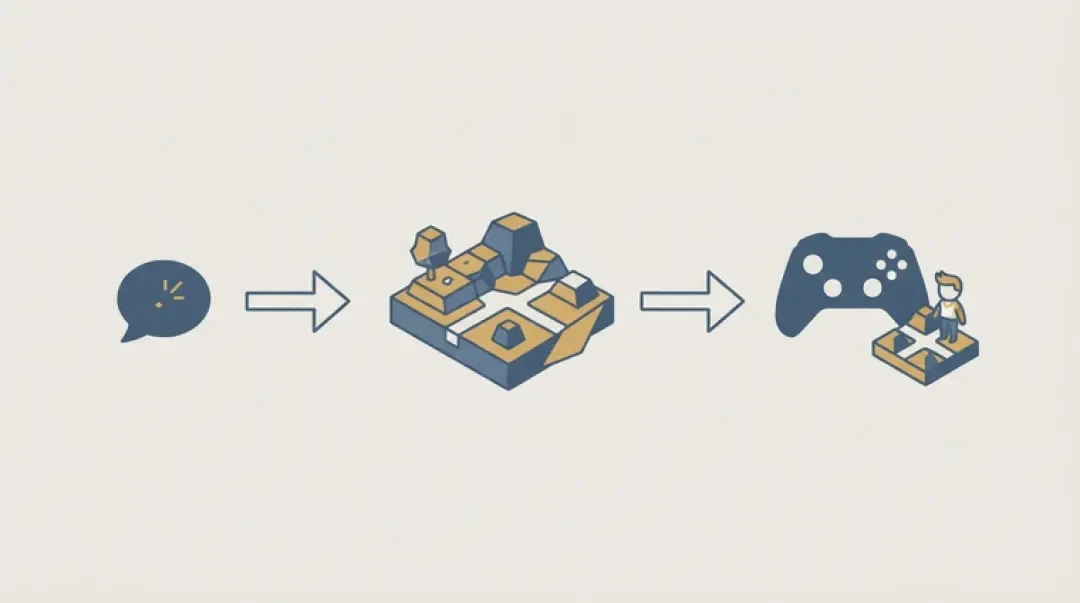
In a browser 3D game builder like Neta Studio, all four systems are the same editable object — you do not export between an editor and a runtime, and you do not write a save system from scratch. That changes the first week of an RPG project. You are not assembling an engine; you are describing and editing one world. This guide covers the type decision, the four core systems, four build steps, five checkable mistakes, and how to publish a playable link before the game is finished.
Quick Answer: Start With One Room
Start with one room: one character, one goal. Prove the loop — move, talk, accept, fight, complete — then expand outward. The room is a test harness, not a level. If the loop does not work at this scale, a larger map only hides the failure.
The phrase how to make an RPG game usually points at the wrong step first. People ask about classes, skill trees, and a world map before they have confirmed that the player can walk up to an NPC, press interact, and see the dialogue box open. Creating an RPG is the same as creating any interactive system: define the smallest complete interaction, get it running, then add branches. One room with four walls and one exit exercises collision on all four sides plus a door trigger. One character with a single line exercises the interaction radius and the state flag that remembers the conversation happened. One quest exercises a counter that increments when a condition is met. One battle exercises turn order, a damage number, and a victory condition. Once the loop runs end to end, every additional feature is an extension of a working path rather than a new unknown.
What Kind of RPG Are You Making?
The type decision determines your data model before it determines your content. A turn-based RPG stores actions as queued entries with initiative values. An action RPG stores them as frame-level hit windows and cooldowns. A roguelike stores a run seed and a room pool. If you pick the wrong type, you will rebuild the combat system after the first playtest, not the art.
Use the table below as a filter, not a menu. The column that matters most for a first project is the last one: does the type have a loop you can prove in one room in one session? JRPGs, tactical RPGs, and text-based RPGs do. Open-world RPGs and action RPGs do not, because their value is in traversal or timing across many spaces, and neither is testable in a single room.
For a first project, pick a type whose core loop fits in a single scene. You can change type later — the room, the character, and the quest survive the change; only combat and camera logic get replaced. The type guide on this site covers the distinctions in more depth, including which types share the same underlying data shape.
| RPG type | Core loop | Difficulty for a first project | Suits a first project? |
|---|---|---|---|
| JRPG | Explore, trigger encounter, choose command, resolve turn, gain XP | Moderate | Yes — loop fits in one room |
| Action RPG | Move, aim, hit in real time, dodge, repeat | High | No — requires tuned timing and hit windows |
| Open-world RPG | Traverse region, discover location, complete activity, fast-travel | Very high | No — value is in scale, not in one loop |
| Roguelike | Enter run, clear room, pick upgrade, die, restart with meta-progress | Moderate | Yes — if you keep the room pool at 1–2 for the first build |
| Tactical RPG | Position units on a grid, select action, resolve turn, advance objective | Moderate to high | Yes — grid plus turn order is testable in one room |
| Text-based RPG | Read prompt, choose option, update state, repeat | Low | Yes — the loop is the UI |
| Visual-novel RPG | Read scene, choose branch, update flags, reach ending | Low | Yes — but combat is optional, so it tests fewer systems |
The Four Core Systems of an RPG
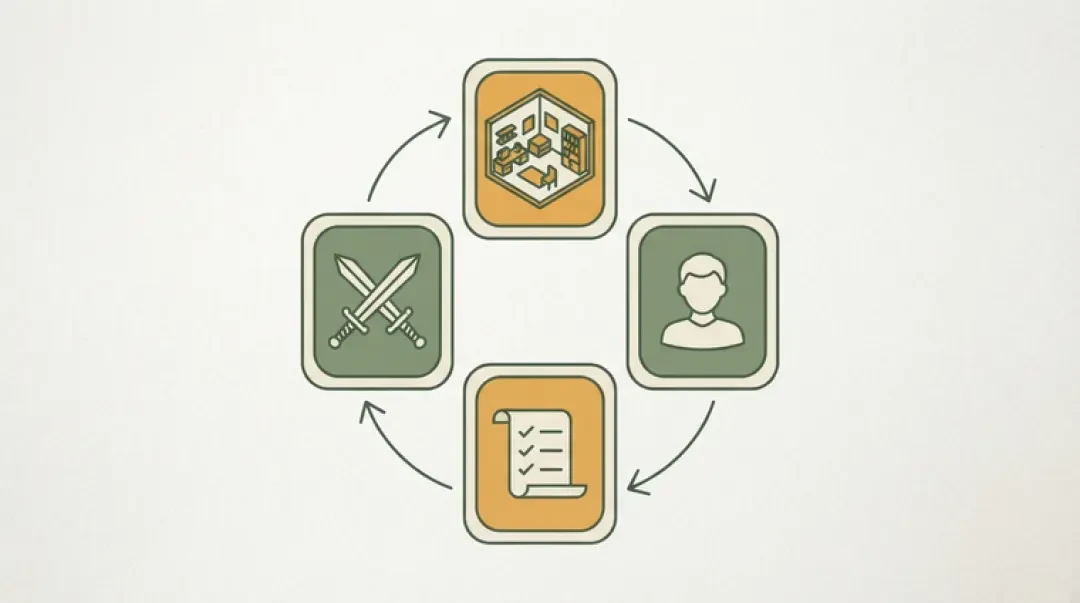
An RPG is four systems sharing one state: world, characters, quests, combat. They are not separate features; they read and write the same flags. The quest system reads a character flag to know whether the NPC has been talked to. The combat system writes a flag that the quest system reads to know the boss is dead. If you build them as independent modules, you will spend the second week writing glue code between them.
A browser builder changes one thing: all four systems are the same editable object. The world node that holds the room also holds the character, the quest trigger, and the combat encounter as child properties. You edit them in place, you do not export a scene file and reimport it, and you do not maintain a separate database for quest state. That means a change to the character's dialogue is visible on the next page load without a build step. It also means a bug in one system is a bug in the shared object, so test them in order.
The interlock is the design. A quest with no character is a floating objective. A character with no quest is scenery. A combat with no quest reward is a minigame. Build them in the order world, character, quest, combat so that each new system has something to attach to.
World
The world is geometry plus collision plus camera. In a first room, the world is four walls, a floor, a ceiling, a light, and a door. You need collision on the walls and a trigger volume on the door. Nothing else. The camera is either first-person or a fixed third-person offset; pick one and do not add a toggle until the movement is stable. Named setting to check first: collision layer. If the floor and the walls are on different layers than the player, you will fall through the floor and spend an hour on it.
Characters
A character is a mesh, an interaction radius, and a dialogue payload. The interaction radius is the distance at which the prompt appears. Start it at roughly one and a half times the character's width; if it is too large, the prompt appears before the player is close enough to read it. The dialogue payload is a list of lines plus a trigger condition. Agent Sprite Forge handles the look — you describe the character and get a sprite or model back — so the build step is the radius and the lines, not the art.
Quests
A quest is a condition plus a reward plus a state. The condition is a flag the game can check. The reward is an item, a flag, or a door opening. The state is one of inactive, active, complete. Three states is enough for a first build; do not add failed or expired until a quest can actually fail. Quests are stored on the same object as the character who gives them, which is why character and quest are built in that order.
Combat
Combat is turn order, an action, a resolution, and a win condition. Turn-based is easier to build and easier to tune than real-time because every event is discrete. You can read the log and see exactly what happened. In a browser builder, combat is a scene or a sub-scene with a fixed camera; you do not need physics for a turn-based exchange, only damage numbers and a check that ends the encounter when one side reaches zero hit points.
Step 1: Start With One Room
A room beats a map for a first build because it exercises the three systems that fail most often: movement, camera, and collision. A map hides all three behind traversal. In a room, you hit a wall within seconds and know immediately whether collision is configured. You turn the camera and know whether it clips through geometry. You walk from one corner to another and know whether movement speed feels right relative to the room size.
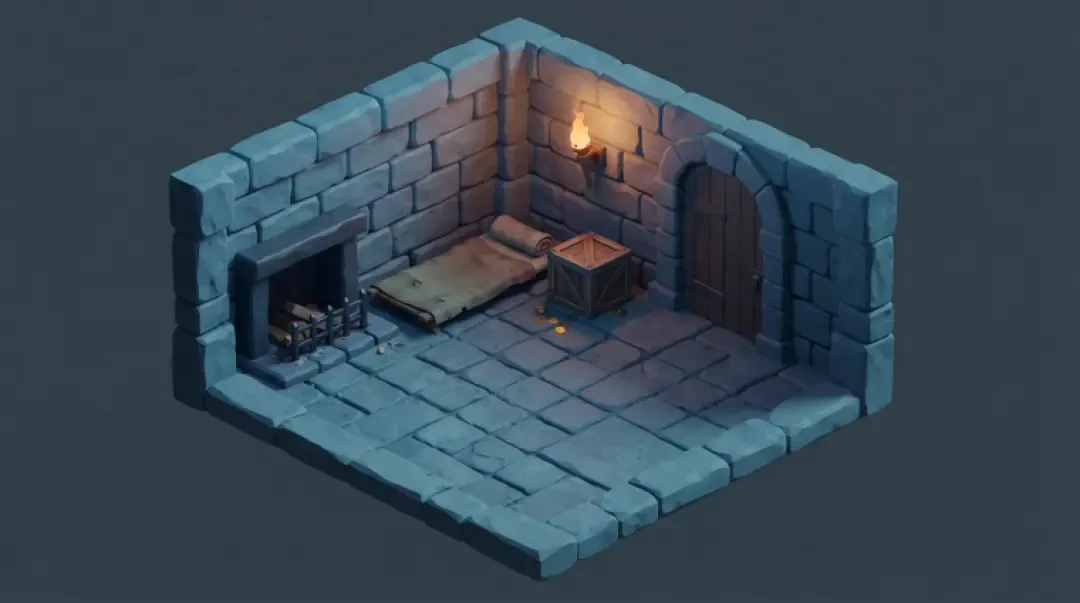
One concrete prompt to start with: describe a stone room about ten meters square with a single wooden door on the north wall, a chest in the southeast corner, and a torch on the west wall. That description produces floor, four walls, a ceiling, a light source, a door object, and a chest object. The door is a trigger volume, not a wall. The chest is an interactable with no behavior yet. You now have the harness.
If you want a reference for what a small, populated space looks like in this builder, The Cyclops' Island and Mini World both ship as small worlds rather than large maps, and both can be opened and edited to see how collision, lighting, and interactables are arranged. Do not copy their content; copy their scale. A first room should be walkable in under ten seconds in every direction.
01
Describe or place a room roughly ten meters square with four walls, a floor, a ceiling, and one door.
02
Set the player collision layer so walls block movement and the floor does not.
03
Place one light source and confirm the room is readable without it being bright.
04
Set the camera to first-person or a fixed third-person offset and leave it there.
05
Walk the full perimeter and confirm you collide with every wall and pass through the door trigger.
06
Adjust movement speed until crossing the room takes about four seconds.
Step 2: Add a Character
An NPC needs three things to exist: a look, one line, and one trigger condition. The look comes from Agent Sprite Forge or from a primitive. The line is a single string. The trigger condition is the state that makes the line appear — usually proximity plus a flag. If the NPC has all three, the player can interact and something happens. If any one is missing, the NPC is scenery.
The difference between a character with a goal and one without is the trigger condition. Without a goal, the NPC says the same line every time the player approaches, and the line has no consequence. With a goal, the line changes state: first interaction sets a flag, and the second interaction reads the flag and produces a different line or opens a quest. The flag is one boolean. That boolean is the difference between a prop and a character.
Keep the interaction radius visible while you test. Place the NPC, walk toward it, and note the distance at which the prompt appears. If the prompt appears from across the room, reduce the radius. If the player has to overlap the NPC, increase it. The radius should be generous enough that the player is not hunting for the interaction point and tight enough that the prompt does not appear for every object in the room.
- Without a goalOne line, no flag. The player approaches, reads the line, and walks away. This tests the interaction radius and the dialogue box, nothing more.
- With a goalTwo lines and one boolean. The first interaction sets the flag; the second reads it and changes what the character says or offers. This tests state persistence, which is the system the rest of the RPG depends on.
Step 3: Add a Quest
A quest has three parts: the goal, the cost, and the reward. The goal is the condition to complete. The cost is what the player gives up or risks. The reward is what changes in the world. If a quest has a goal but no cost, it is a task. If it has a goal and a reward but no cost, it is a gift. The cost is what makes the player make a decision.
What makes a first quest testable rather than impressive is that you can complete it in under a minute and observe the state change. A testable quest has one condition, one reward, and a visible change. An impressive quest has branches, dialogue trees, and a moral choice, and you cannot tell whether it works without playing through all of it. Build the testable one first. The impressive one is a variation on a working structure, not a replacement for it.
Copy these three templates directly. They are designed to be completed in a single room with a single NPC and a single interactable object. Each one uses one boolean and one item flag, so the state is easy to inspect when it does not fire.
01
Fetch: the character asks for an item that is in the room. Goal: player has the item. Cost: the walk plus the interaction. Reward: a flag that opens the door.
02
Talk: the character asks the player to speak to a second character. Goal: both flags are set. Cost: finding the second character. Reward: a new line and a key item.
03
Clear: the character asks the player to defeat an enemy in the room. Goal: enemy hit points are zero. Cost: the battle. Reward: the enemy drops an item that opens the next area.
Step 4: Add a Battle
Turn-based suits a first version because it is readable and tunable. Every action is a discrete event with a number attached. When a battle feels wrong, you can read the log and change one number: enemy hit points, player damage, or turn order. In a real-time battle, the same adjustment is masked by timing and you cannot tell whether the change worked without many playtests.
Telegraphing is how the player learns what the enemy will do. Before the enemy acts, the UI shows the intended action — a name, an icon, or a line of text. The player then chooses a response. Without telegraphing, the battle is a damage race and the player has no decision. With telegraphing, the player's turn becomes a response to known information. That single change is what makes a turn-based battle feel like a puzzle rather than a spreadsheet.
Keep the first battle to two actors and three actions: attack, defend, and one special. Defend should reduce incoming damage enough that using it is sometimes correct. If defend is never correct, remove it. If it is always correct, it is too strong. The tuning target is a battle the player can win in three to five turns while losing about half their hit points. That leaves room for the next battle to be harder without new mechanics.
- Telegraphed actionThe enemy's next action is visible before the player chooses. This converts the player's turn from a guess into a response.
- Honest damage numbersShow the damage value, not just a health bar. Players tune their own strategy around numbers, and you can debug the balance from the same display.
- One special per sideA single non-basic action per actor is enough to create decisions. Adding a second special before the first is balanced doubles the tuning surface.
Five Beginner Mistakes
These are checkable, not aspirational. Each one has a test you can run in under a minute. If you cannot tell whether you are making the mistake, run the test.
The pattern behind all five is the same: building a system before the system it depends on works. A map depends on movement. A story depends on a quest. A save system depends on state worth saving. Enemies depend on collision. Publishing depends on nothing except a walkable build, which is why it can happen earliest.
01
Building the map before proving the loop. Test: can you complete one full interaction in the current build in under a minute? If not, the map is premature.
02
Writing 30,000 words of story before the first playable. Test: does any line of that story appear in the build? If not, it is a document, not a game.
03
No save. Test: can you close the tab and return to the same state? If not, every playtest starts over, and you will stop testing.
04
Placing enemies before collision works. Test: can the enemy walk through a wall? If yes, collision is not done and enemies will hide bugs.
05
Believing it must be finished before it is published. Test: can someone else open it and walk around? If yes, publish it. If not, fix that before adding content.
Tools: Engine or No Engine?
There are three routes. A full engine gives you maximum control and requires you to build the editor, the runtime, and the export pipeline before you build the game. A maker tool gives you a fixed data model for one type of RPG, which speeds up that type and constrains everything else. A browser builder gives you a running world you edit in place, which removes the build step and the export step entirely.
The right choice depends on what you are testing. If you are testing whether you enjoy making RPGs, use the route with the shortest time to a walkable build. If you are testing a specific combat system that no existing tool supports, you need the engine. Most first projects are the former and are built in the engine anyway, which is why most first projects stop at the menu screen.
The engine comparison on this site breaks down the three routes by what you have to build yourself in each. Read it before you commit to a toolchain. The decision is expensive to reverse after two weeks of work.
Publish What You Have
Publishing a walkable link early is the step most guides omit, and it is the step that makes everything else testable. A build on your machine is a private opinion. A build on a page is a claim someone else can check. The moment a second person can walk around your room, you have a bug report source, a feedback loop, and a reason to fix the collision layer.
Publishing needs three things: a title, a page, and a link. The title is the name of the build and it should be specific — a working title is fine. The page is the container that describes what the build is and what the player should do. The link is the address you can send to one person. In a browser builder, the page and the link are generated when you publish; you do not configure a host or upload a build.
Publish at the first room, not at the first dungeon. The version number that matters is not content completeness; it is whether the intended action is possible. A published build with one room and one working interaction is more useful than an unpublished build with ten rooms and a broken door. The first published link is also the first time you see the frame rate on hardware that is not yours, which is the earliest signal about performance and input handling.
01
Give the build a specific title.
02
Write one sentence on the page stating what the player should do.
03
Publish and copy the link.
04
Open the link on a different device and confirm movement and interaction work.
05
Send it to one person and ask them to describe what happened.
Walk into the world it belongs to
Every guide can describe step one; only a playable world shows it. Little Ritual is the smallest complete version of this guide: one small world, four characters, four tasks — nothing more. Open it and move around before you build your own.
FAQ
How long does it take to make an RPG? +
A playable first room with movement, one interaction, one quest, and one battle is a single-session build in a browser builder. Expanding that to a small finished game is measured in weeks, not hours.
Do I need to code? +
No. A browser builder exposes collision layers, interaction radii, dialogue payloads, quest flags, and turn order as editable properties. You need to understand the systems, not write them.
What should I build first? +
One room. Movement, camera, and collision are the systems that fail most often and they are all exercised by a single room. Build the room, walk the perimeter, confirm collision, then add the character.
Can I make an RPG alone? +
Yes. The four core systems — world, character, quest, combat — are independent enough that one person can build and test them in sequence. The constraint is content volume, not system complexity.
Unity or RPG Maker? +
Unity gives maximum control and requires you to build the systems. RPG Maker gives a fixed JRPG data model and speeds up that specific type. Choose based on whether your combat system fits an existing model or needs custom logic.
Can I make an RPG on paper? +
Yes, and it is a useful step. A paper prototype of the turn loop — write down enemy action, choose response, apply damage — tests whether the battle has decisions before you build the UI.
Can I make an RPG for free? +
A browser-based builder that runs in the browser and publishes a link removes the licensing and hosting cost of a full engine route. The cost that remains is time, which is the same in every route.
How do I publish it? +
Give the build a title, write one sentence describing the goal, publish, and copy the link. In a browser builder the page and the link are generated at publish time. The first published link is the first real test of performance and input on hardware that is not yours.
Back to the 3D Game Builder
All 31 finished 3D worlds, games and scenes live on one page — every one of them playable.